Last time, we covered a little bit of science and photography basics – how to use a digital camera properly and how to make the most of the settings to take perfect product photos.
In this post, lets dive into the details of how to set up your in-house photography. Of course, you could outsource photography to a professional studio, but that would probably set you back a good deal of cash.
With so much professional-grade equipment and software available, though, you could easily do your photography in-house at a fraction of the cost. After all, why spend unnecessary cash when you can get the same (or at least very similar) results right at home!
Buying a camera
This goes without saying, but the most important piece of equipment is your camera! When you are taking product photos, you want to go ahead and invest a few hundred dollars into a nice DSLR camera.
Please, please, please don’t use a point-and-shoot camera – those are built more for convenience than picture quality.
DSLRs or Digital Single Lens Reflector cameras have far superior lenses and sensors so even a terrible photo with an SLR will have better colors than a good photo taken with a cheap point-and-shoot.
What’s more, DSLRs have the capacity to shoot RAW images. A RAW image is a file that contains all the exposure and color data that the camera can gather, so you can tweak those settings after the photo is taken and detail will appear or go away magically without any loss in quality.
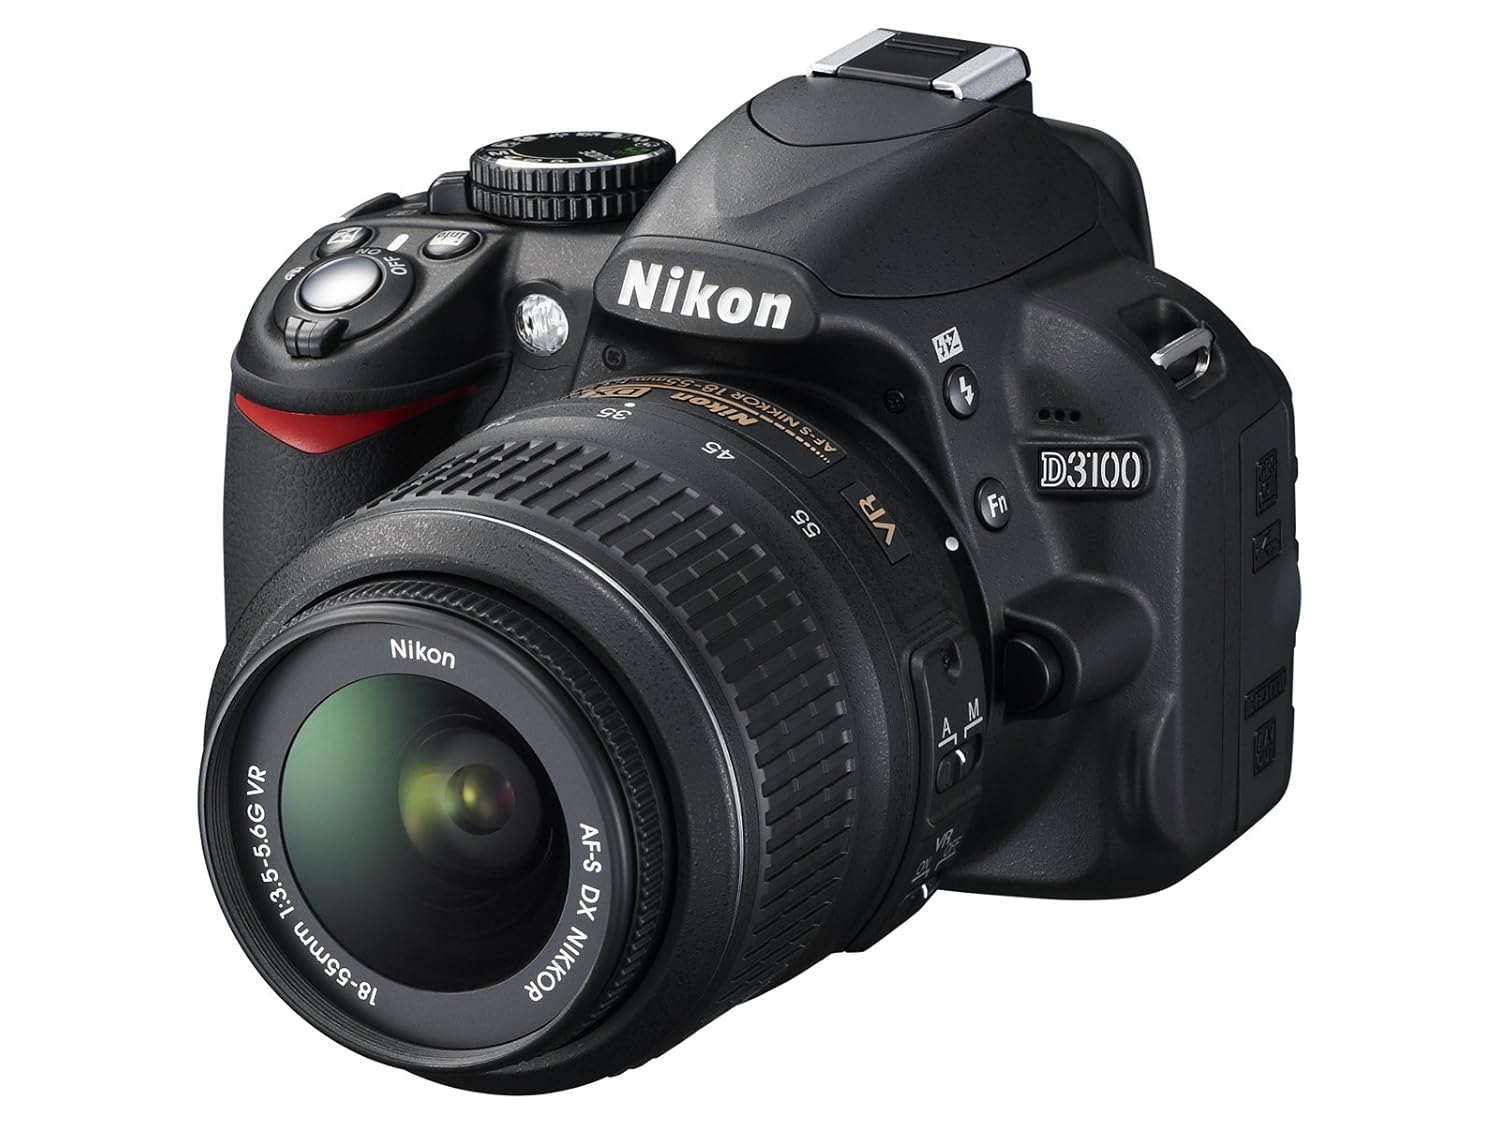
You don’t have to break the bank – a quick scan of Amazon should point you to some really decent DSLRs by Canon, Nikon, or Sony that are around $500 (or less). You want to go for a kit, since that includes the starter lens as well.
Don’t worry too much about getting a bigger lens right now. Since you will be shooting in controlled conditions, even the stock lens will work just fine.
Personally, I use a Nikon D3100 (pictured above) that I’ve have for about 3 years, and it’s still serving me very well. A good DSLR has a long life.

Using a tripod
The next bit of equipment you’ll need is a simple tripod to mount your camera. To take good photos, you’ll have to bend over into odd positions and unless you are a yoga master or a ninja, chances are you won’t be able to keep your hands and torso steady enough to take a good photo.
Use a tripod to get the exact angle and position you want – this way, you can leave the camera as-is with one preset of settings and just change the product around in your photography area.
Tripods are cheap – a simple one can be found in the range of $20-$30.
Setting up lighting
Lighting is one of the keys to taking good photographs. If you can master lighting, you can get rid of pesky shadows and have a uniformly lit photograph – like the professional-grade photos you see on top stores.
To get rid of shadows, you want to have light coming in from all sides.
You know those umbrellas with the bulbs in them in a photo studio? Those are made for this purpose – they soften the light and spread it out.

Softening the light is very important, because a strong bulb has something of a “beam” of light that will light one area up more than another. By softening or diffusing the light with an umbrella-device (or something similar), the light spreads out and hits the target object more evenly.
To set up lighting in-house, you can use this neat hack that Richard Lazzazera uses for his product photography. For less than $50, you can set up your own light tent with just a few light bulbs, white tissue paper, and a white poster board:

For even more instructions on setting up your light tent, check out this tutorial.
Touching up your photos
Once you’ve done the legwork, you’ll want to take one or two experimental pictures and open them up in Photoshop (which comes with a free trial) to see how they came out. It’s a good idea to shoot them in RAW and edit the RAW file directly.
In the RAW editor that automatically opens up as you click on that file, you’ll want to adjust exposure first. Chances are that if there is too much light, white/lighter areas of your product will be too bright and will lack detail. This is ok – just slide the exposure tab back and forth and watch the subject magically get darker and details magically appear.

Sometimes, I prefer to balance out exposure with shadows and highlights – to me, this is pretty subjective, and I usually just play around with the dials until I’m satisfied.
Once the image is satisfactory, on to the next step – brightness.
Adjusting the brightness
When you play around with brightness, you’ll actually be slightly changing some other settings as well, but that’s fine. If you still feel your image is a little dark after exposure, adjust the brightness to a point you feel satisfactory. Since you aren’t going to be printing these photos, what you see on the screen is pretty much what everyone else will see as well.
To be really sure, though, remember to keep your own computer screen’s brightness at low to medium, so you don’t mistake an image to be really bright when it is actually dark!
At this point, you’re done adjusting the RAW image, so you can click save and open the image up in Photoshop.
Here is some more detail on the difference between exposure and brightness.
Making further adjustments
You may see that your photos have a certain color tone to them. They may be more blue, red, green, orange, yellow, and so on.
While you could adjust this manually, the Auto Tone option in Photoshop usually does the trick very nicely. It’ll detect which color tone is more prominent and adjust accordingly to give a more natural and accurate image. If you aren’t satisfied with the result, just click Undo and adjust the tone manually.

You’ll also want to remove the background – even if you shot it on a white background, the background may still appear off-white or grainy. If your product has distinctly different colors than the background, Photoshop’s wonderful Magic Wand tool will select the entire background (or most of it) in one click, and you can just hit delete and fill it with white instead.
If the Magic Wand doesn’t pick everything up, you can adjust the sensitivity, or just click on the remaining areas to select them.
Alternatively, you can trace out your product using the smart select tool and just cut/paste, but you may end up with messy edges this way.
A neat trick for products that have a lot of white in them is to have a few different color sheets of poster paper for your products – so depending on the colors of your product, you can shoot it on a distinct background so you’ll be able to edit it out easily.
Final touches and thoughts
Once you’re satisfied with your image, you can crop/move around/resize it as you wish, and you’re pretty much good to go!
For web images, I prefer to use JPG or PNG, but I like PNG better because you can save transparent backgrounds to use on sites that have colorful backgrounds. If you do use Photoshop, make sure to check out the plug-in TinyPNG, it does a great job of compressing photos so they load faster.
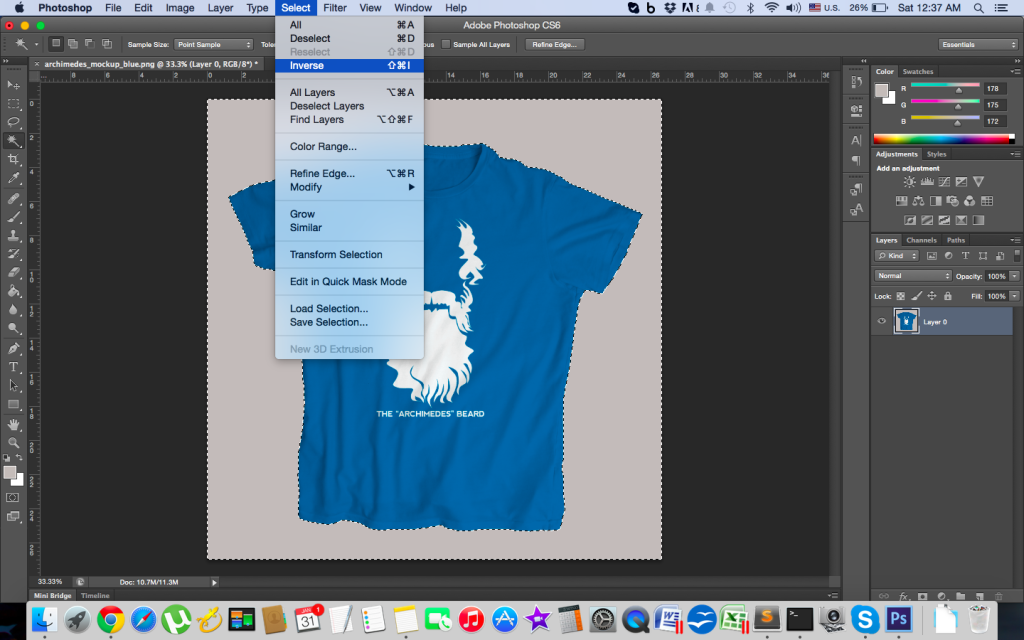
To remove the background, you’ll first have to use the magic wand tool to select your background (if it’s one color), then go to the Select menu and choose the Inverse option. This will select the whole product, then you can just cut and paste it onto a new file with a transparent background.
So there you have it. It will take quite a bit of time and effort to get these images right, especially if you have a lot of products, but considering that having perfect product photos can well be your most powerful selling tool, the time invested will be well worth it.