If a picture is worth a thousand words, then a good product photo might well be worth a thousand dollars. When you are buying something online, you can’t touch it, can’t smell it… you can’t hear it or taste it. You only have one sense to go on: sight.
Seeing as you probably wouldn’t buy anything just from reading a description (without looking at anything), you can figure how important it is to take high quality product photos for selling something online. Even when scrounging around the flea market that is Craigslist, I know I personally filter out any result that doesn’t have a photo.
A good product photo can actually help fill in the gaps for your other senses. Just this morning, I was looking for a nice bathroom shelf online. The photos that I saw weren’t very high resolution, but still you could just tell from the photo that the shelf would feel cheap to the touch.
I’m sure there is a science behind how your brain does this, but you get what I’m saying, right? Sometimes, you can just look at an item and be able to tell whether it is cheaply made or put together solidly. Your brain, empowered by a good photo and sense of sight, can replicate the sense of touch for you.
Taste, smell, and sound are a little trickier – but by placing the product around people and showing them using the product, you can portray what those senses must feel like. Think AXE Bodyspray or Bose Acoustic Wave…
Of course, in the end, this has to be backed up by an actual good product, but you can still see how these companies portray other senses.
In this post we’re going to explore the technical science behind how to take perfect product photos, including choosing and using the camera and setting the lighting. In the next post, we’ll discuss how to set up your own home as a product photo studio.

The science behind photography
What makes a good photo? Understanding the science better will help you create whatever effect you are going for.
When you take a picture, light enters the camera’s lens and shines upon the film inside the camera. In digital cameras, light falls on a special sensor instead of film.
The amount of light and how fast the light falls on the sensor affect the quality of the picture – these two properties are called aperture and shutter speed, respectively.
The lower the aperture (usually seen as a decimal number – 3.5, 5.0, 6.4), the more light comes through the lens, resulting in a brighter picture.

Shutter speed is measured in fractions of seconds. It can be super-fast such as 1/4000 of a second all the way to as slow as 30 seconds. The sweet spot is usually between 1/60 of a second to 1/250 of a second – this is more than adequate for regular shooting.
To take really beautiful photos, you want to find a good combination of aperture and shutter speed to get the exact lighting you want.
Remember, some photos are better bright and clear, but other photos will look better darker or blurrier. It all depends on the effect you are going for.
Most consumer cameras won’t allow you such customization, but if you have a handheld camera that does, play around with the settings to get a feel for the best settings.
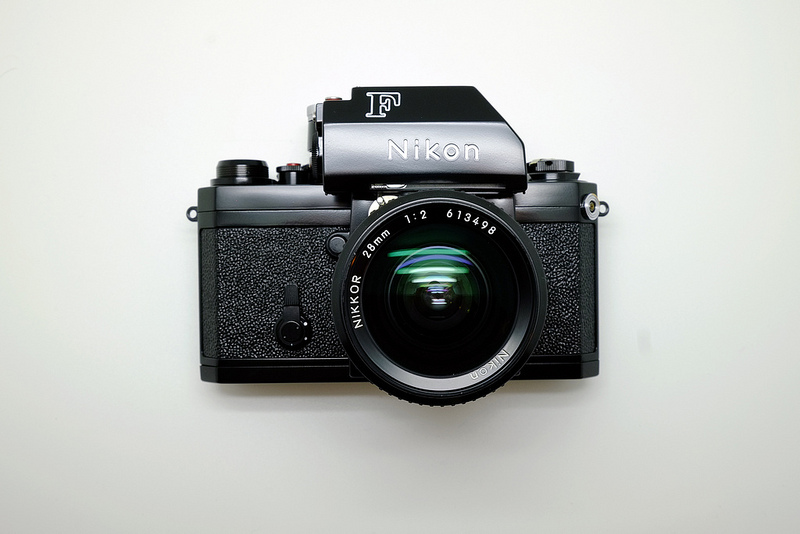
To take really beautiful product photos, though, I highly recommend getting a digital SLR – you won’t have to break the bank, as you can pick a kit up for less than $500 – which is a worthwhile investment. Who knows, maybe you’ll find a rewarding new hobby, too!

By adjusting the aperture, you can also mess around with the focus of the image. You know those really cool shots where the subject is clear and the background is blurry? You can achieve that by shooting with a really low aperture – which means a really wide open lens.
If you want to shoot landscapes or larger pictures with equal focus, you can shoot on a higher aperture.
If you are new to digital photography, you may be overwhelmed by adjusting the shutter speed and aperture for every photo. Luckily, most dSLRs come with aperture priority and shutter priority modes – so you can adjust one setting manually, and the camera will take care of the other.
It’s also a good idea to adjust the white balance setting – what this does is adds or removes some of the effect created by artificial light. You know how indoor photos can be yellowy because of tungsten bulbs? White balance can correct that, giving you much better color.

Check out the white balance settings on your camera for more information – cameras usually have presets for every light condition.
Another setting to play around with is ISO. ISO was originally used as a measure of the film’s chemical sensitivity to light – higher ISO films were more sensitive to light, and could be used in darker conditions, but at a tradeoff of being grainier.
Digital cameras also have ISO settings, and you can play around with them, but seeing as you’re shooting product photos, you’ll probably be fine with any ISO between 100-400.
One last mode you’ll find very useful in product photography is macro photography. Have you ever seen those really up-close photos of insects or flowers that show incredible detail? Those photos are taken using the macro mode.
When your camera focuses on any object, there is an optimal distance where the focus will be best. Your eyes do this naturally – when you look at distant objects, the lens of your eye changes shape, and when you look at closer objects, it changes shape again. But when you have something too far or too close, it won’t be clear.
It’s the same way with cameras – try holding any camera (even your phone) very close to the object you are photographing, and it won’t be able to focus.
What macro focus does is it helps you get really, really close and focuses the image for you. So if you have a product that you want to highlight very fine detail by getting up close, use the macro mode – it’s usually denoted by a little flower icon.
It’s all about composition
After that quick primer on the science, let’s get into some neat ways to compose your photo so it looks awesome.
For main images, you want to position the product itself in the dead center of the frame as you shoot – since this is the main image where you are showing the product by itself, you want to make sure that’s the only thing getting the viewer’s attention.

Make sure to use a white background for your main shots, too. Richard Lazazzera gives a really neat suggestion for this: lay your products on a large sheet of white paper, and shoot with a tripod angled from the top.
For other images, play around – try and show how your product is best shown as it is being used. Since we mentioned deodorant in the beginning of the article, which photo of deodorant in use would you think is better:
- a photo of a giant can of deodorant which is in the front of the frame, and behind the can there is a much smaller person holding it (because of perspective)?
- Or a photo of a guy standing in front of a mirror using the can (it’s visible and obvious), with the guy’s entire body the length of the frame?
You’d probably say the second one, right? Because you already have a product photo that focuses on the item itself – now it’s time to show it in use.

With photography, there are only guidelines, not set rules – once you are familiar with the basics, it’s all up to experimentation to see how you can get the best photos possible for your store – remember, if your photos match your store’s personality, that’s even better. Check out this post from Bigcommerce about how a dropshipper took excellent product photos.
So that wraps up this post for the basics of photography – in the next post, we’ll go a little bit into how to set up you in-house studio and edit your photos.
For some extra inspiration, check out a list of 14 stores with beautiful photos.